
The first time you log in to StaffGlass, you will be required to complete a few steps in order to use the platform. First, users will upload an image of the front and back of their ID, as well as a “selfie” (a self portrait image). Afterwards, users will be prompted to read and agree to our Terms and Conditions, as well as our Privacy Policy. Once these steps are complete, you will be redirected to the portal and you will be free to get started using the StaffGlass platform. In this guide, we will quickly go over these steps to get you set up with your new account.
Getting Started
After creating your account, you will be able to log in for the first time. Simply visit the StaffGlass app. Enter your username (email address) and password, and click Login.

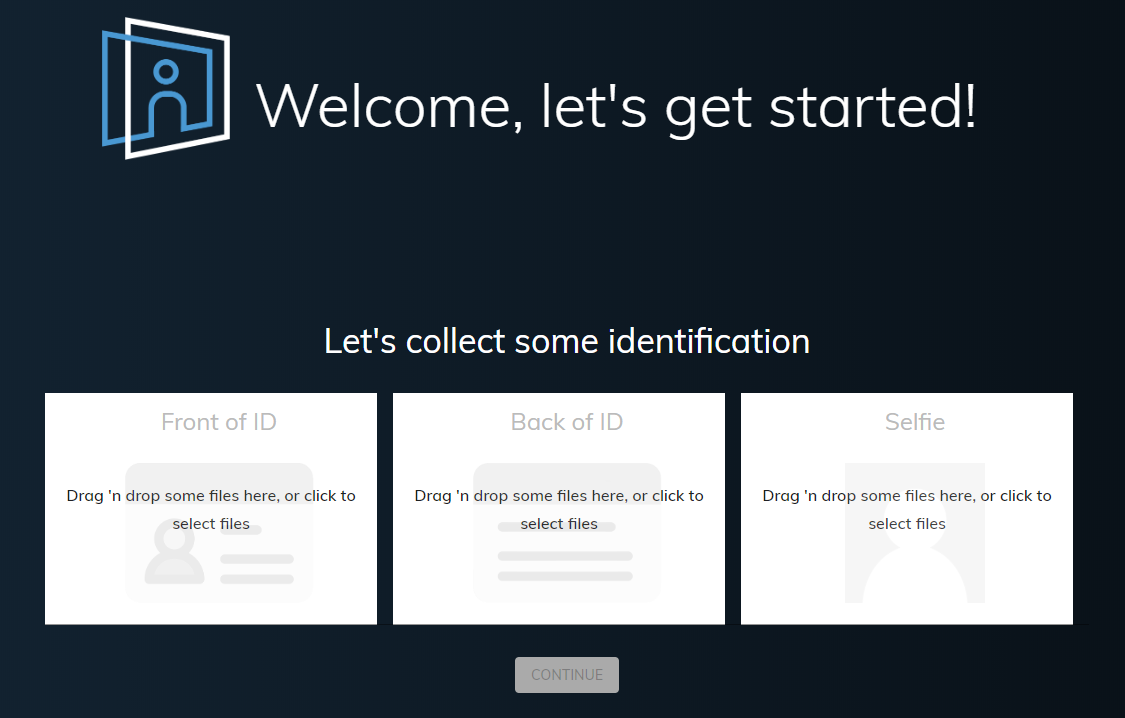
If this is your first login, you should be redirected to the image upload page. On this page, you will upload three images:
- Front of ID
- Back of ID
- Selfie
If you do not already have these images available on the device you are using, go ahead and take these photos now. For the two ID images, make sure there is ample lighting, and that the ID is close enough to be easily readable and in focus. Blurry images could cause an upload error. For your selfie, take a photo of your face with a solid background in a well-lit area.
Uploading your Images
You will see a white square section for each of these uploads. For each image, you may either drag and drop the appropriate image onto the corresponding white square, or you can click the section to open your operating system’s file explorer.
Examples:
Drag and Drop (Windows)

Click and Select (Windows)

Once you have selected all three images, you should be ready to upload. Click “Continue” to upload the images and continue onto the next step. Our system will automatically scan in the barcode on your ID and process the information for you. If everything works, you should see a success message and be redirected to the next step.

Accepting Agreements
After successfully uploading your images, you will land on the Privacy Policy agreement page. Simple scroll through and read the policy, and then click “I Agree”
NOTE: The “I Agree” button will only be clickable after you have scrolled to the very bottom of the Privacy Policy.

After agreeing, you will again see a separate agreement document, the Terms and Conditions. Read the terms and conditions and scroll to the bottom, and then click “I Agree” to confirm your agreement.
That’s it! You are now all set up and ready to get started on StaffGlass. If you have any other questions, you can check out our other Knowledge Base to learn more about what StaffGlass can do for you.